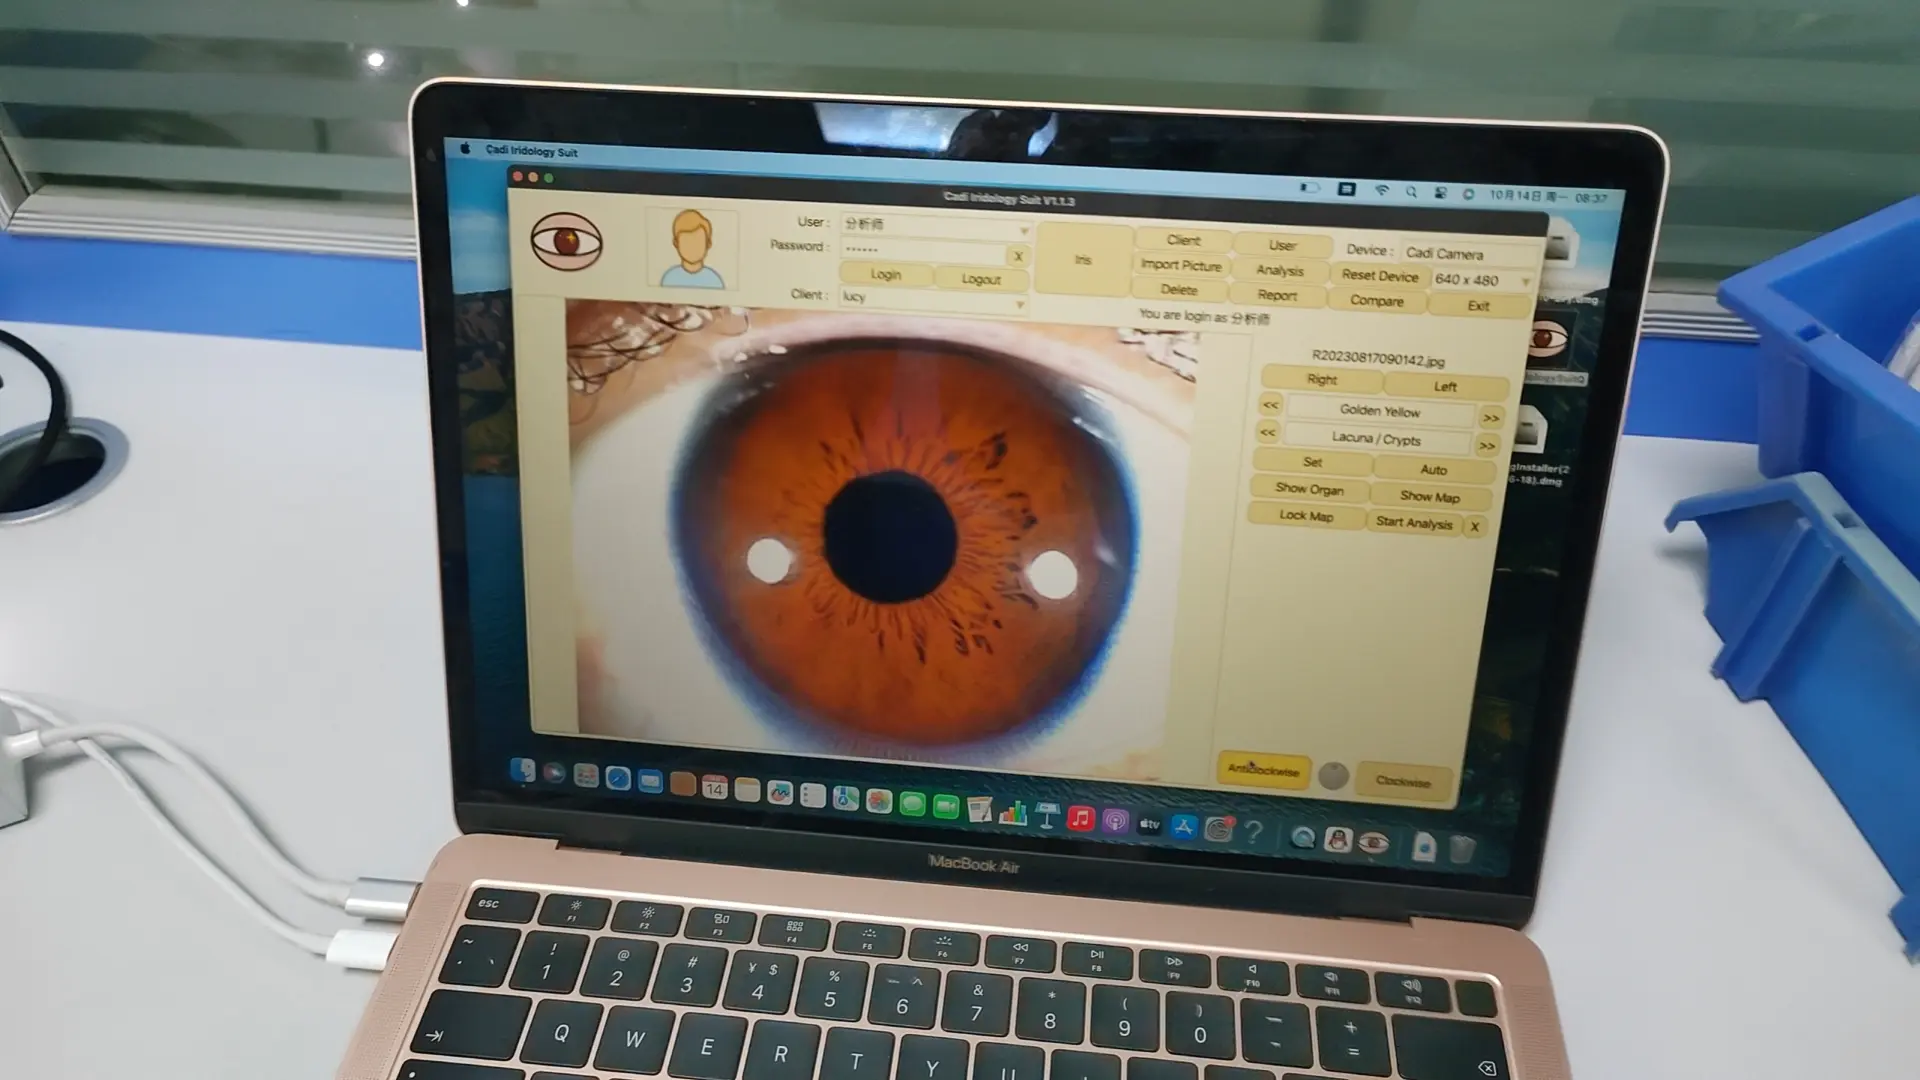
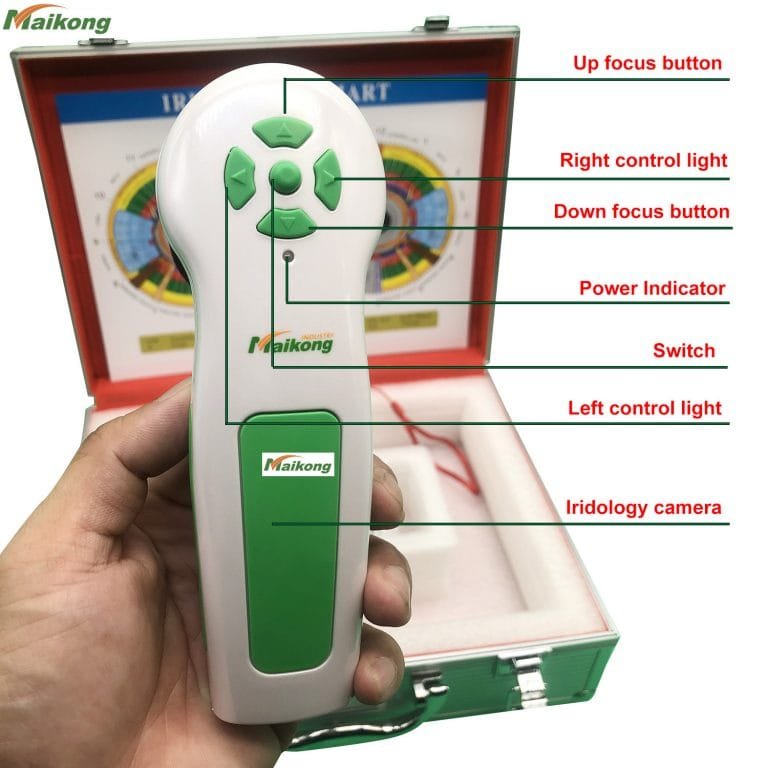
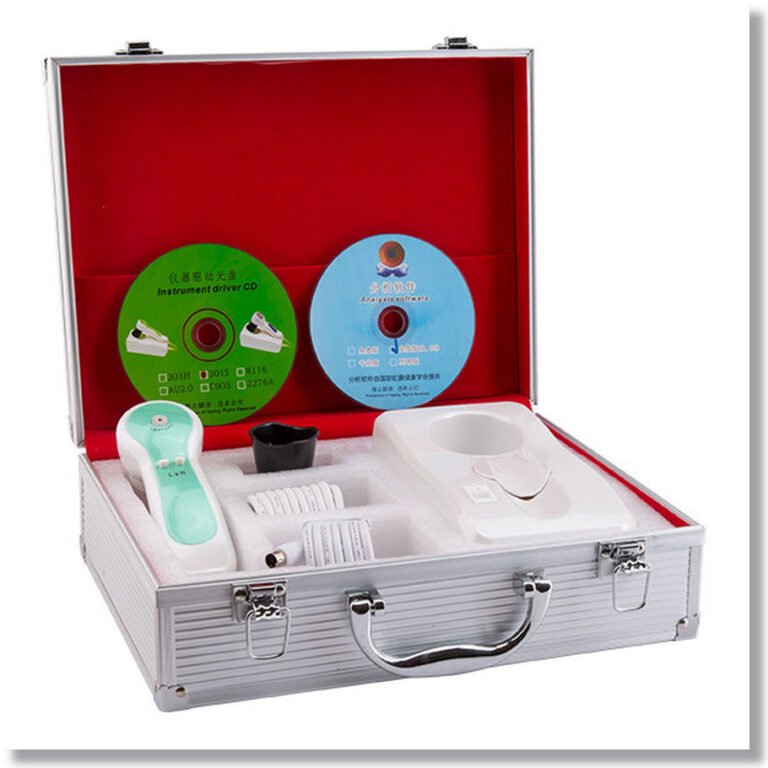
What is iridology camera?

Fournisseurs de caméras iridologiques


12MP USB Digitai Eye Iriscope Iridology Camera Iris Analyzer Pro Iridology Software
Taper:
Analyseur de peau, équipement de beauté multifonction, analyseur de peau
Certification:
CE Rohs, CE, Rohs
Lieu d'origine:
Guangdong, Chine (continentale)
Nom de la marque:
Everycom
Numéro de modèle:
Ec-hm7
Couleur:
Blanc
Langue:
Anglais, espagnol, Malaisie
Résolution:
Pixel 12m
Logiciel:
Iris, peau, œil
Service d'après-vente:
Durée de vie
fabricants de caméras iridologiques
Fournisseurs de caméras iridologiques
caméra d'iridologie à vendre afrique du sud
caméra iridologique en gros
Caméra iridologie 5MP
What iridology camera can do?
How To Take Your Iris Photos by iridology camera-To take the best photos for your reading, set your camera to MACRO and try, if possible, to use natural, daytime indoor light with a flash. Set the size of the photo for a higher resolution, with a minimum of 2.5M (2208 x 1248). 4.5M (2784 x 1568) is best.
Étape 1: Prendre vos photos d'iris avec un appareil photo numérique
Réglez la caméra sur le réglage macro.
Augmentez la résolution à 4,5 m (2784 x 1568).
Allumez Flash.
Utilisez la lumière du jour intérieure.
Tenez-vous de côté de n'importe quelle fenêtre (face à la fenêtre provoquera un éclat).
Demandez à quelqu'un d'autre de tenir l'appareil photo ou d'utiliser un trépied et une minuterie.
Maintenez les paupières supérieures et inférieures ouvertes pour rendre visible l’iris entier.
Prenez une photo de chaque iris à la fois.
Gardez l'œil près de la caméra. En mode macro, vous pouvez vous trouver à 4 à 5 pouces de l'objectif.
Étape 2 : Vérification de l'éclairage et de la clarté de vos photos
Vérifiez la photo sur le viseur de votre appareil photo. Utilisez la fonction de zoom pour voir l'iris.
Assurez-vous que l'iris est clair ; sinon réessayez.
Assurez-vous qu'il n'y a pas d'yeux rouges ; sinon, activez la « réduction des yeux rouges » et réessayez.
Assurez-vous que tout l'iris est visible ; sinon réessayez.
Assurez-vous qu'il n'y a pas d'éblouissement significatif sur l'iris ; sinon, éloignez-vous légèrement de toute fenêtre et réessayez.


Étape 3: Envoyer un e-mail à vos résultats de photo finaux de l'iris
Vous pouvez recadrer les photos afin que seul l'œil soit visible pour réduire la taille du fichier.
Si c'est trop de travail, envoyez simplement un e-mail à la photo entière.
Vous pouvez envoyer 3 à 5 photos de l'œil gauche dans un e-mail.
Vous pouvez envoyer 3 à 5 photos de l'œil droit dans un autre e-mail.
Utilisation d'un appareil photo numérique: Instructions vidéo sur la façon de prendre des photos d'Iris
Using an iPhone: Video Instructions on How to Take Iris Photos
Exemples de soumissions inacceptables de photos d'iris
NO! Both of these example have significant glare, making portions of the iris unreadable
In the first example above, the person was likely facing a window, causing the glare to appear in the iris. The solution: Turn slightly away from the window and try again.
In the second example, it is likely that this photo was taken at night or in a room with no windows and only overhead light. Due to the darker light in the room, the light is refracting off the iris, causing significant glare and making the photo blurry. The solution: Take the photo in indoor daylight with no overhead lighting. Side lighting is usually ok.
A small amount of glare in the pupil (the black dot in the center of the iris) is ok.
NO! Not looking directly at the camera lens creates a distorted image of the iris
In the above 2 examples, the individuals are most likely trying to take the photos themselves so they are inadvertently looking at the camera while trying to take the photo.
The solution: Have someone else hold the camera steady for you or use a tripod with a timer.
NO! In these photos, the top and/or bottom of the iris is covered
When taking your photographs, check to see that the entire color portion of the eye is visible, especially the top and bottom. If you tend to have ‘droopy’ eyes, just gently pull the skin away from the eye using your thumb and forefinger.
Exemples de soumissions de photos d'iris acceptables
YES!! Perfect photos – note flash inside pupil and full iris visible
YES!! Although not perfectly clear photos, these 2 examples are still readable
YES!! Very good photos – full iris visible, clear and easy to read for Iridology
YES!! Perfect photos – note flash inside pupil and full iris visible
YES!! Perfect photos – note flash inside pupil and full iris visible
Learn what to expect from your Iridology Analysis at Iridology Explained.
Find answers to any additional questions about Iridology and how it works at Iridology – FAQ’s.
Start Now! Schedule your online appointment at Book Your Iridology Consultation.
Iridology cannot diagnose specific disease.


Fournisseurs de caméras iridologiquesWe are the iridology camera supplier manufacturer,if yo need more info and price ,please contact us.
logiciel de caméra d'iridologie


Qu'est-ce que l'analyse iridologique?
What You’ll Get From Your Iridology Analysis:
Awareness of areas of toxicity or inflammation in your body (systems, organs and glands).
Learn whether you have a weak, medium or strong bodily constitution.
Suggestions for specific detox protocols to correct the imbalance.
Suggestions for herbal or dietary supplements.
A detailed evaluation of your case that’s detailed enough to give you specific things you can do to move forward without feeling overwhelmed or confused.
New to eating healthy and detoxifying?
*I suggest doing an iridology analysis at the beginning of your journey to see a before and after of your progress.
Your eyes will change with deep tissue detoxification!
Taking Your Iris Photos with a Digital Camera:
Set camera to macro setting.
Keep the eye close to the camera. On a macro setting, you can be 4-5 inches from the lens.
Turn on flash if taking photos indoors.
Use natural daylight. I find taking them in my car on a sunny day always works well.
Tenez-vous de côté de n'importe quelle fenêtre (face à la fenêtre provoquera un éclat).
Have someone else hold the camera if possible or use a tripod and timer. If you do not have a tripod, use a mirror to see if your eye is in the shot.
Hold the upper and lower eyelids open to make your ntire iris visible.
Prenez une photo de chaque iris à la fois.


Taking Your Iris Photos with a Phone Camera:
Keep the eye close to the camera.
Flip your camera horizontally.
Take photos using natural daylight. I find taking them in my car on a sunny day always works well.
Have someone else take your photos if possible.
Hold the upper and lower eyelids open to make your entire iris visible.
Prenez une photo de chaque iris à la fois.
Checking Your Photos for Lighting and Clarity:
Check the photo on the viewfinder of your camera. Use the zoom feature to see the iris.
Be sure the iris is clear, otherwise try again.
Be sure there is no red eye. If possible, turn on red eye reduction on your camera.
Assurez-vous que tout l'iris est visible ; sinon réessayez.
Assurez-vous qu'il n'y a pas d'éblouissement significatif sur l'iris ; sinon, éloignez-vous légèrement de toute fenêtre et réessayez.
Emailing Your Final Iris Photo Results:
You may crop the photos so only the eye is visible if you wish.
If possible, please let me know which eye is left and which is your right eye. I can still locate which eye based on your tear duct, but this always helps.
You can send 3-5 pictures of your left eye and 3-5 pictures of your right eye.


