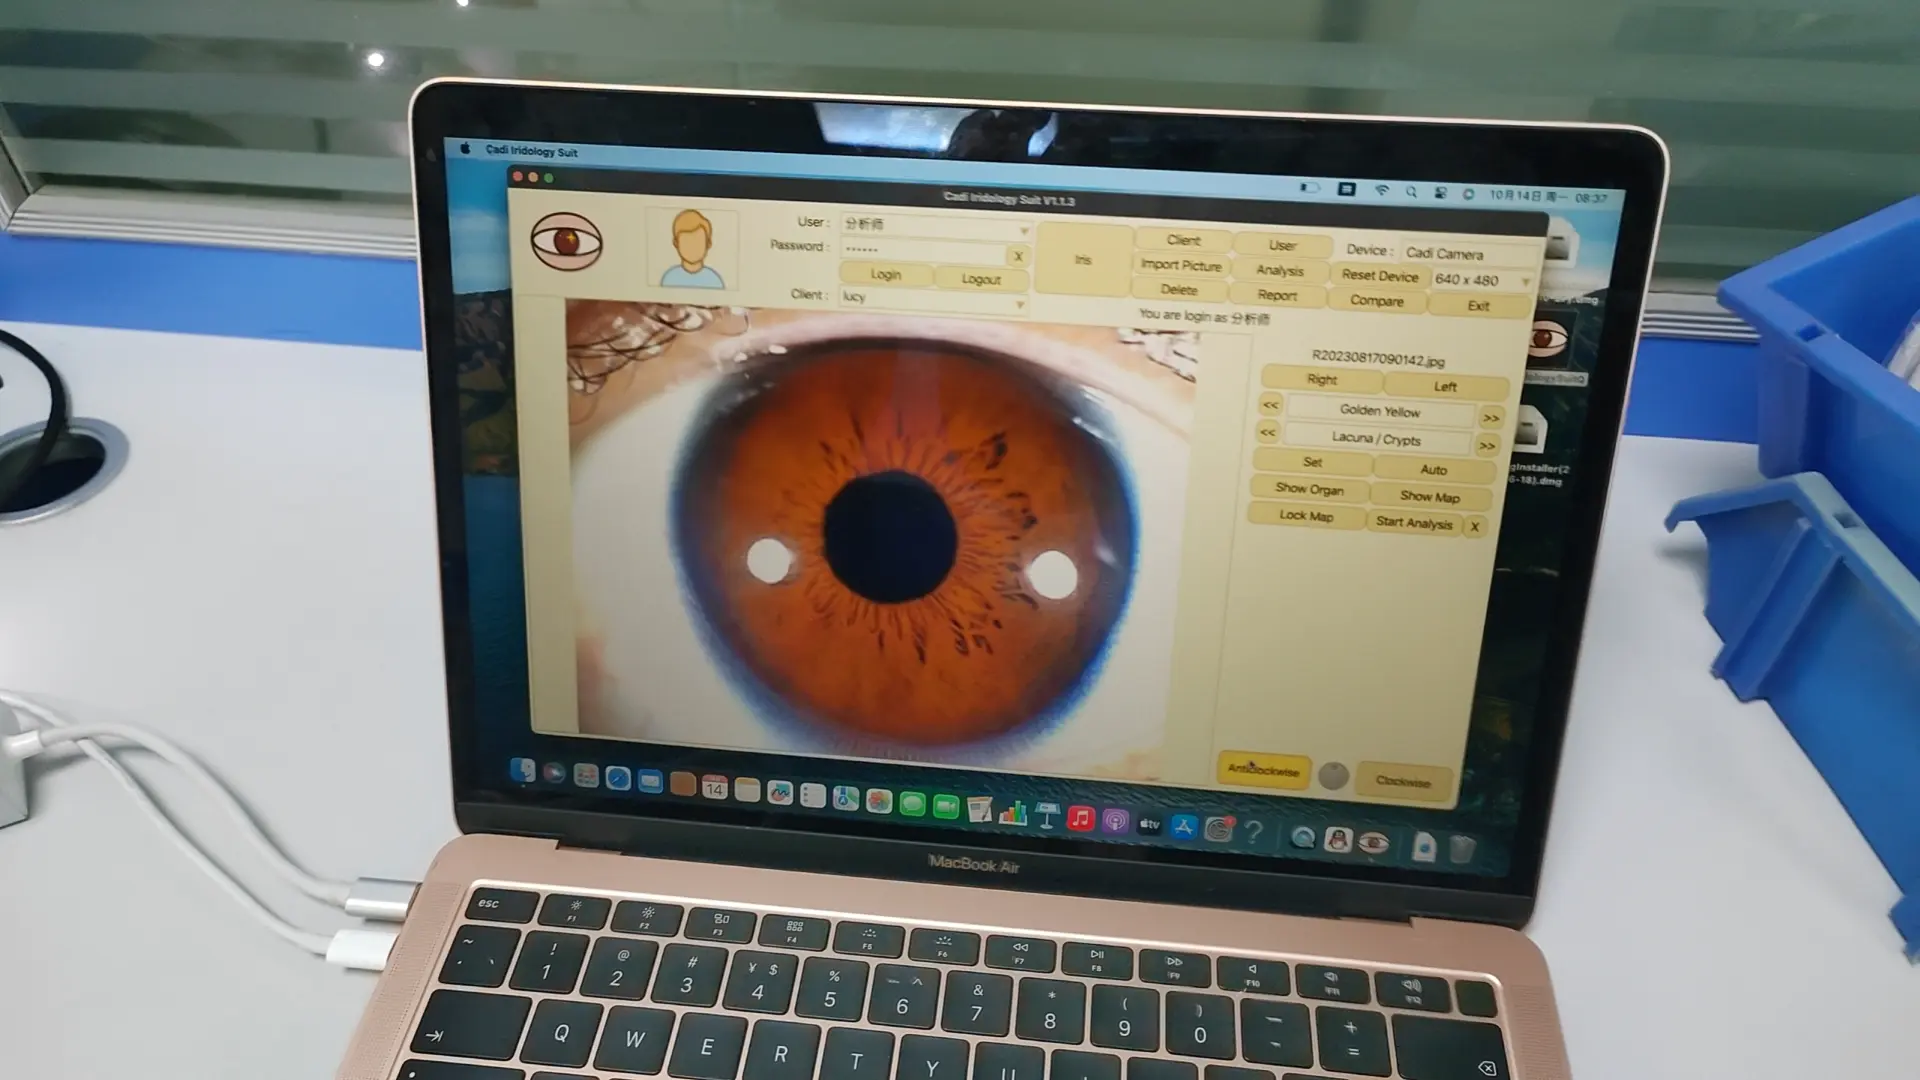
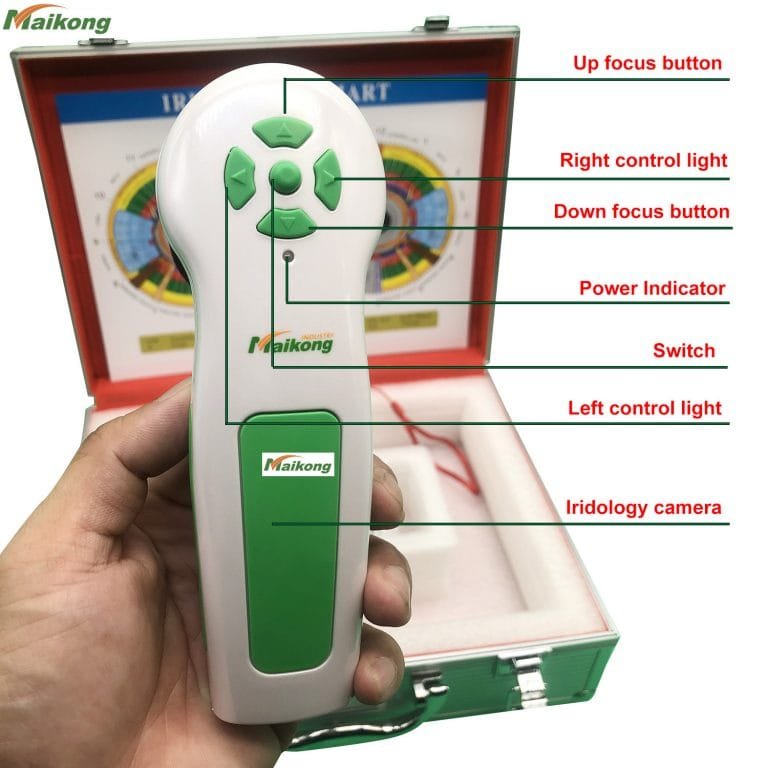
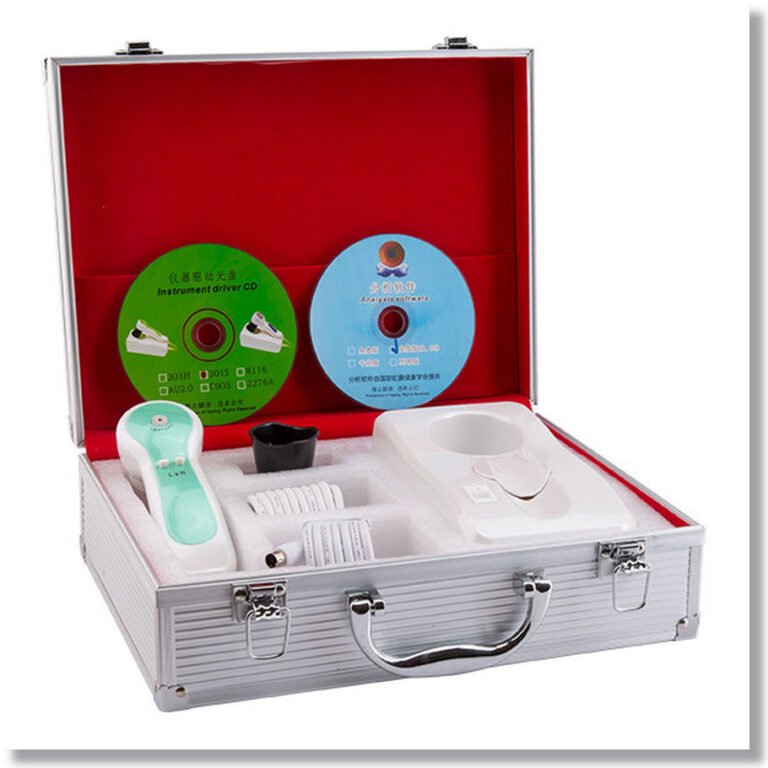
What is iridology camera?

IRIDOLOGIE Camera Lieferanten


12MP USB Digitai Eye Iricope Iridology Camera Iris Analyzer Pro Iridology Software
Typ:
Hautanalysator, Multifunktions-Schönheitsgeräte, Hautanalysator
Zertifizierung:
CE ROHS, CE, ROHS
Herkunftsort:
Guangdong, China (Festland)
Markenname:
Everycom
Modellnummer:
EC-HM7
Farbe:
Weiß
Sprache:
Englisch, Spanisch, Malaysia
Auflösung:
12 m Pixel
Software:
Iris, Haut, Auge
After Sales Service:
Lebensdauer
IRIDOLOGIE Camera Hersteller
IRIDOLOGIE Camera Lieferanten
Iridologie-Kamera zum Verkauf in Südafrika
Iridology Camera Großhandel
5MP Iridologiekamera
What iridology camera can do?
How To Take Your Iris Photos by iridology camera-To take the best photos for your reading, set your camera to MACRO and try, if possible, to use natural, daytime indoor light with a flash. Set the size of the photo for a higher resolution, with a minimum of 2.5M (2208 x 1248). 4.5M (2784 x 1568) is best.
Step 1: Taking Your Iris Photos with a Digital Camera
Stellen Sie die Kamera auf die Makroeinstellung ein.
Erhöhen Sie die Auflösung auf 4,5 m (2784 x 1568).
Blitz einschalten.
Verwenden Sie das Tageslicht in Innenräumen.
Stellen Sie sich seitwärts von jedem Fenster aus (Blick auf das Fenster verursacht Blendung).
Have someone else hold the camera or use a tripod and timer.
Halten Sie die oberen und unteren Augenlider geöffnet, um die gesamte Iris sichtbar zu machen.
Machen Sie jeweils ein Foto von jeder Iris.
Halten Sie das Auge nahe an der Kamera. Bei der Makroeinstellung können Sie 4-5 Zoll vom Objektiv entfernt sein.
Step 2: Checking Your Photos for Lighting and Clarity
Überprüfen Sie das Foto auf dem Sucher Ihrer Kamera. Verwenden Sie die Zoom -Funktion, um die Iris zu sehen.
Be sure the iris is clear; otherwise try again.
Stellen Sie sicher, dass es kein rotes Auge gibt; Andernfalls schalten Sie die Reduzierung von „Roten Augen“ ein und versuchen Sie es erneut.
Stellen Sie sicher, dass die gesamte Iris sichtbar ist. Ansonsten versuchen Sie es erneut.
Stellen Sie sicher, dass die Iris keinen signifikanten Blick auf die Iris gibt. Drehen Sie Ihren Körper ansonsten leicht von jedem Fenster ab und versuchen Sie es erneut.


Step 3: Emailing Your Final Iris Photo Results
Sie können die Fotos aufnehmen, damit nur das Auge sichtbar ist, um die Dateigröße zu verringern.
Wenn dies zu viel Arbeit ist, senden Sie einfach das gesamte Foto per E -Mail.
Sie können 3-5 Bilder des linken Auges in einer E-Mail senden.
Sie können 3-5 Bilder des rechten Auges in einer anderen E-Mail senden.
Using a Digital Camera: Video Instructions on How to Take Iris Photos
Using an iPhone: Video Instructions on How to Take Iris Photos
Beispiele für inakzeptable Iris -Fotoeinreichungen
NEIN! Beide Beispiele haben einen erheblichen Blick, was Teile der Iris unlesbar macht
In the first example above, the person was likely facing a window, causing the glare to appear in the iris. The solution: Turn slightly away from the window and try again.
In the second example, it is likely that this photo was taken at night or in a room with no windows and only overhead light. Due to the darker light in the room, the light is refracting off the iris, causing significant glare and making the photo blurry. The solution: Take the photo in indoor daylight with no overhead lighting. Side lighting is usually ok.
Eine kleine Menge an Blendung in der Pupille (der schwarze Punkt in der Mitte des Iris) ist in Ordnung.
NEIN! Nicht direkt auf das Kameraobjektiv schauen, erzeugt ein verzerrtes Bild der Iris
In den obigen 2 Beispielen versuchen die Personen höchstwahrscheinlich, die Fotos selbst aufzunehmen, damit sie versehentlich in die Kamera schauen, während sie versuchen, das Foto aufzunehmen.
The solution: Have someone else hold the camera steady for you or use a tripod with a timer.
NEIN! Auf diesen Fotos sind die Ober- und/oder unten auf den Boden der Iris abgedeckten
When taking your photographs, check to see that the entire color portion of the eye is visible, especially the top and bottom. If you tend to have ‘droopy’ eyes, just gently pull the skin away from the eye using your thumb and forefinger.
Beispiele für akzeptable Iris -Fotoeinreichungen
JA!! Perfekte Fotos - beachten Sie den Blitz im Schüler und die volle Iris sichtbar
JA!! Obwohl diese beiden Beispiele nicht ganz klar sind, sind sie noch lesbar
JA!! Sehr gute Fotos - Voller Iris sichtbar, klar und leicht zu lesen für Iridologie
JA!! Perfekte Fotos - beachten Sie den Blitz im Schüler und die volle Iris sichtbar
JA!! Perfekte Fotos - beachten Sie den Blitz im Schüler und die volle Iris sichtbar
Erfahren Sie, was Sie von Ihrer Iridologieanalyse bei Iridology erklärt haben.
Finden Sie Antworten auf zusätzliche Fragen zu Iridologie und wie sie in der Iridologie funktioniert - FAQs.
Starten Sie jetzt! Planen Sie Ihren Online -Termin bei Buchberatung Ihrer Iridologie.
Die Iridologie kann keine spezifische Krankheit diagnostizieren.


IRIDOLOGIE Camera LieferantenWe are the iridology camera supplier manufacturer,if yo need more info and price ,please contact us.
Iridologie-Kamerasoftware


What is Iridology Analysis?
What You’ll Get From Your Iridology Analysis:
Awareness of areas of toxicity or inflammation in your body (systems, organs and glands).
Learn whether you have a weak, medium or strong bodily constitution.
Suggestions for specific detox protocols to correct the imbalance.
Suggestions for herbal or dietary supplements.
A detailed evaluation of your case that’s detailed enough to give you specific things you can do to move forward without feeling overwhelmed or confused.
New to eating healthy and detoxifying?
*I suggest doing an iridology analysis at the beginning of your journey to see a before and after of your progress.
Your eyes will change with deep tissue detoxification!
Taking Your Iris Photos with a Digital Camera:
Set camera to macro setting.
Keep the eye close to the camera. On a macro setting, you can be 4-5 inches from the lens.
Turn on flash if taking photos indoors.
Use natural daylight. I find taking them in my car on a sunny day always works well.
Stellen Sie sich seitwärts von jedem Fenster aus (Blick auf das Fenster verursacht Blendung).
Have someone else hold the camera if possible or use a tripod and timer. If you do not have a tripod, use a mirror to see if your eye is in the shot.
Hold the upper and lower eyelids open to make your ntire iris visible.
Machen Sie jeweils ein Foto von jeder Iris.


Taking Your Iris Photos with a Phone Camera:
Keep the eye close to the camera.
Flip your camera horizontally.
Take photos using natural daylight. I find taking them in my car on a sunny day always works well.
Have someone else take your photos if possible.
Hold the upper and lower eyelids open to make your entire iris visible.
Machen Sie jeweils ein Foto von jeder Iris.
Checking Your Photos for Lighting and Clarity:
Check the photo on the viewfinder of your camera. Use the zoom feature to see the iris.
Be sure the iris is clear, otherwise try again.
Be sure there is no red eye. If possible, turn on red eye reduction on your camera.
Stellen Sie sicher, dass die gesamte Iris sichtbar ist. Ansonsten versuchen Sie es erneut.
Stellen Sie sicher, dass die Iris keinen signifikanten Blick auf die Iris gibt. Drehen Sie Ihren Körper ansonsten leicht von jedem Fenster ab und versuchen Sie es erneut.
Emailing Your Final Iris Photo Results:
You may crop the photos so only the eye is visible if you wish.
If possible, please let me know which eye is left and which is your right eye. I can still locate which eye based on your tear duct, but this always helps.
You can send 3-5 pictures of your left eye and 3-5 pictures of your right eye.


