What is digital eyepiece camera?


digital eyepiece camera
Please feel free to look at this website for our USB Digital Iriscope, Iridology camera, iris camera, eyology and sclerology USB system ccarry case To see our later website click the above button.
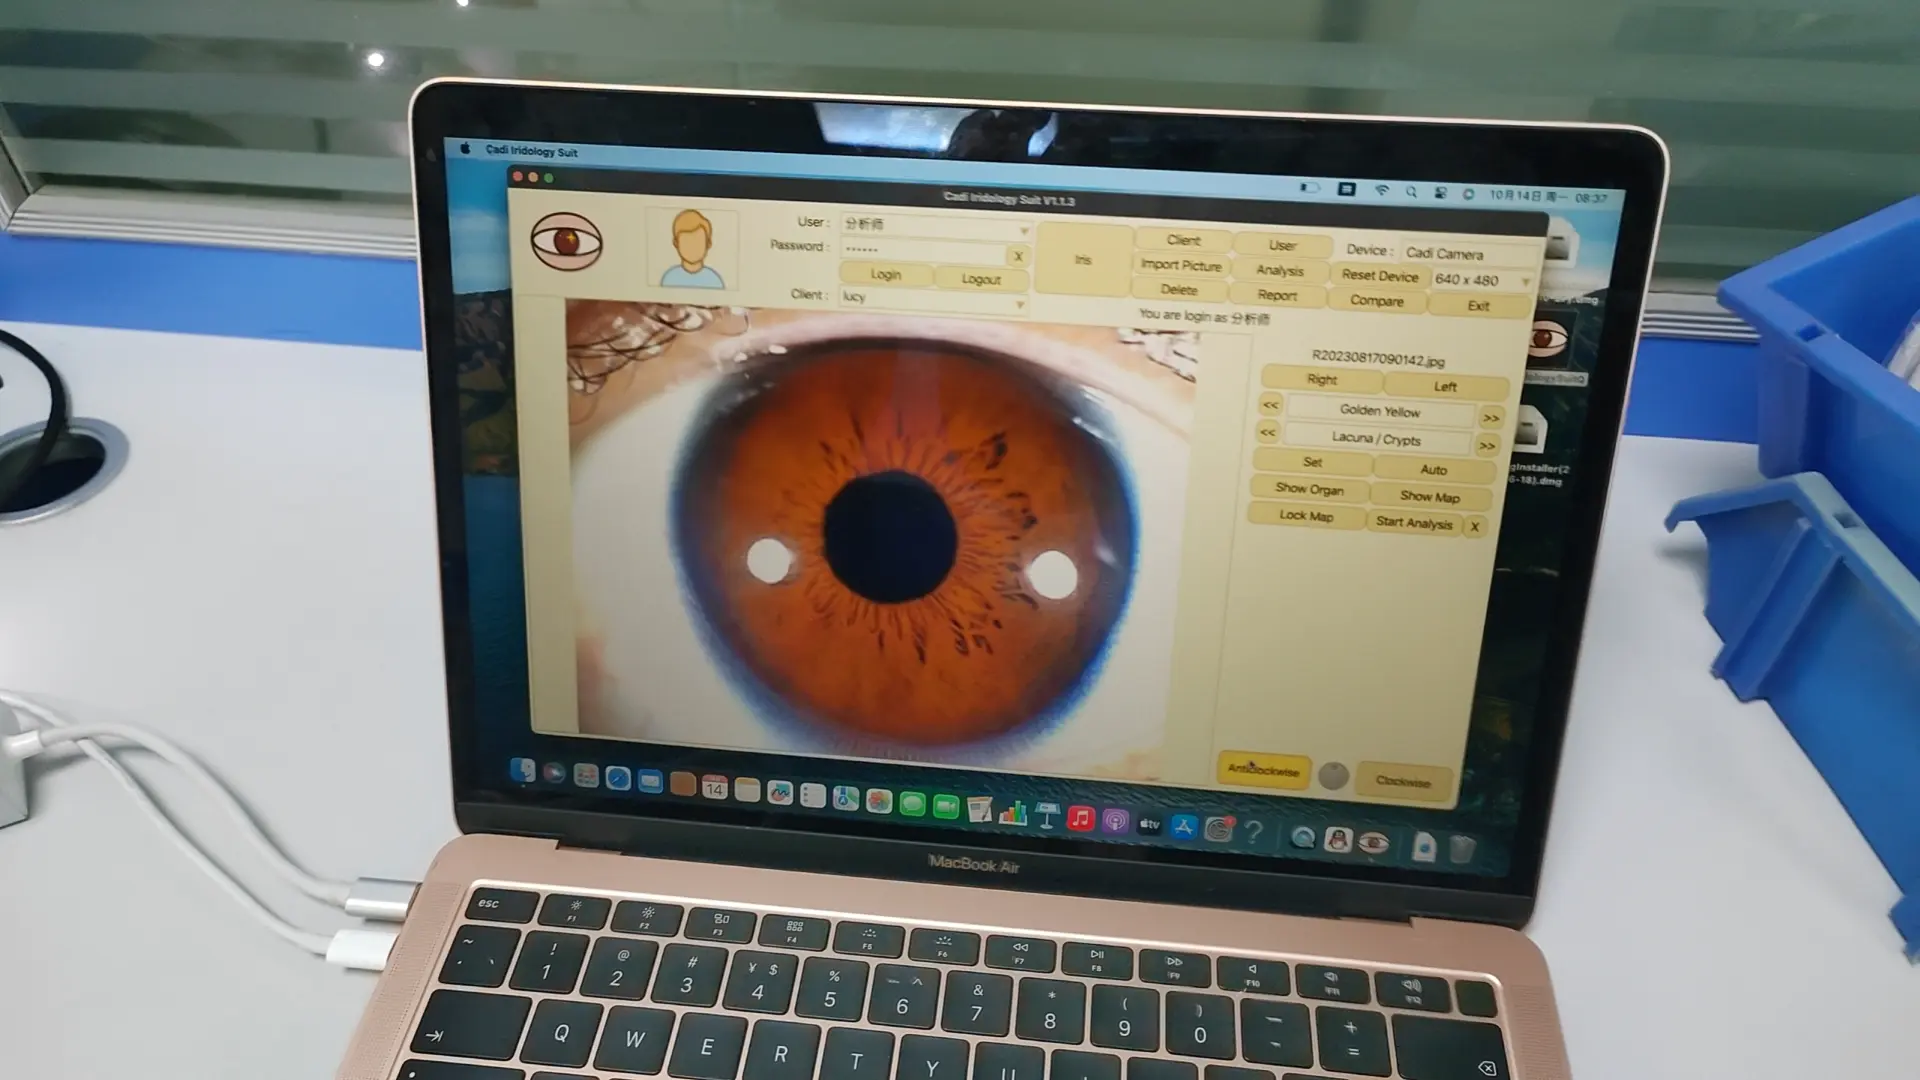
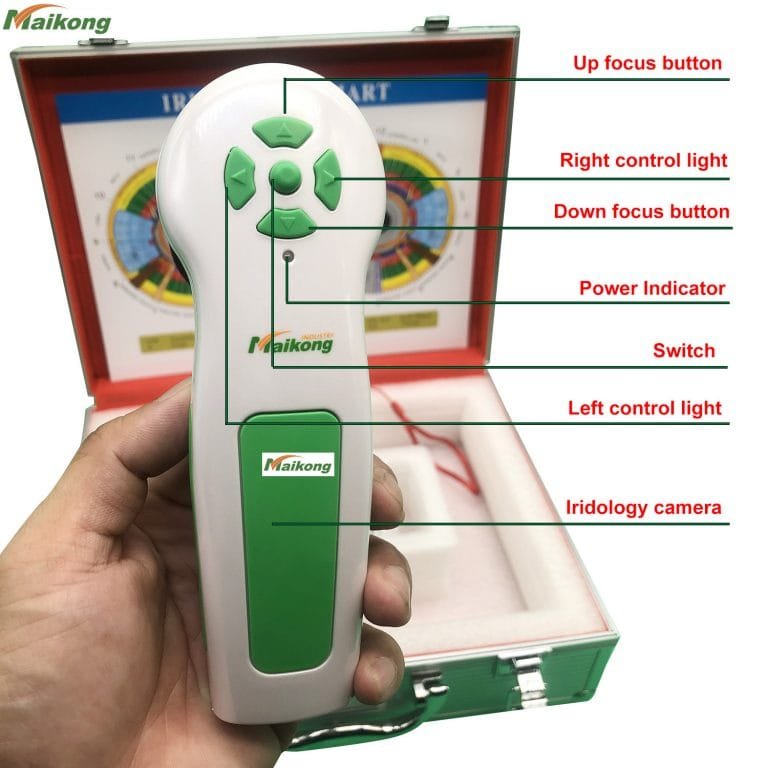
Камера Eyeronec Pebble Pro Iridology была создана для не технического натуропата и естественного терапевта, иридолога и травника.
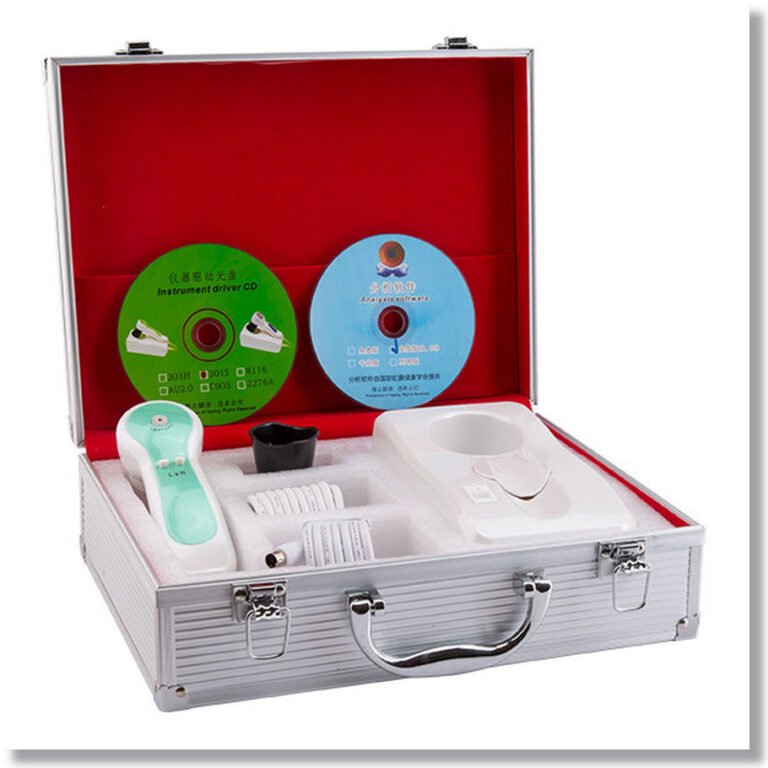
Eyeronec Pebble Pro Digital Iriscope занимает только немного места на столе и очень портативен, как только ваш Mac или ПК установил программное обеспечение, все, что вам нужно сделать, это подключить камеру к USB.
Иридология Eyeronec Iridology Iris Camera не требует от подбородка, без страшной вспышки, никаких проблем с окружающим светом, без тяжелых случаев для ношения,
The EyeRonec Pebble Prp sells for less then the price of other’s “только камера” цена.
Последняя модель Eyeronec Iriscameras имеет 8 световых (для голубых глаз) и 2+ боковых светодиодов для карие глаза.
The lights (white dots) are within the pupil zone ! No artifacts (white dots or streaks) in the iris so pictures are better than images taken with”открыть” системные камеры
12mp Usb Digitai Eye Iriscope Iridology Camera Iris Analyzer Pro iridology software
Тип:
Анализатор кожи, многофункциональное косметическое оборудование, анализатор кожи
Сертификация:
Ce Rohs, CE, Rohs
Место происхождения:
Гуандун, Китай (материка)
Фирменная марка:
Каждая
Номер модели:
EC-HM7
Цвет:
Белый
Язык:
Английский, испанский, Малайзия
Разрешение:
12 М пиксель
Программное обеспечение:
Радужная оболочка, кожа, глаз
После продаж:
Продолжительность жизни


ow To Take Your Iris Photos by iridology camera
To take the best photos for your reading, set your camera to MACRO and try, if possible, to use natural, daytime indoor light with a flash. Set the size of the photo for a higher resolution, with a minimum of 2.5M (2208 x 1248). 4.5M (2784 x 1568) is best.
Шаг 1: Taking Your Iris Photos with a Digital Camera
- Установите камеру на настройку макроса.
- Увеличение разрешения до 4,5 м (2784 x 1568).
- Включите вспышку.
- Используйте крытый дневной свет.
- Встаньте в сторону из любого окна (обращение к окну вызовет блики).
- Have someone else hold the camera or use a tripod and timer.
- Держите верхние и нижние веки открытыми, чтобы сделать всю радужную оболочку видимой.
- Снимайте одну фотографию каждой радужной оболочки за раз.
- Держите глаз рядом с камерой. На макросложении вы можете находиться в 4-5 дюймах от объектива.
Шаг 2: Checking Your Photos for Lighting and Clarity
- Проверьте фото на видоискателе вашей камеры. Используйте функцию Zoom, чтобы увидеть радужную оболочку.
- Be sure the iris is clear; otherwise try again.
- Убедитесь, что нет красного глаза; В противном случае включите «снижение красных глаз» и попробуйте еще раз.
- Убедитесь, что вся радужная оболочка видна; В противном случае попробуйте еще раз.
- Убедитесь, что на радужной оболочке нет существенного взгляда; В противном случае поверните свое тело немного от любого окна и попробуйте еще раз.
Шаг 3: Emailing Your Final Iris Photo Results
- Вы можете обрезать фотографии, чтобы вид только глаза, чтобы уменьшить размер файла.
- Если это слишком много работы, то просто напишите всю фотографию.
- Вы можете отправить 3-5 фотографий левого глаза в одном электронном письме.
- Вы можете отправить 3-5 фотографий правого глаза в другом электронном письме.
Using a Digital Camera: Video Instructions on How to Take Iris Photos
Using an iPhone: Video Instructions on How to Take Iris Photos
Examples of Unacceptable Iris Photo Submissions


NO! Both of these example have significant glare, making portions of the iris unreadable
In the first example above, the person was likely facing a window, causing the glare to appear in the iris. The solution: Turn slightly away from the window and try again.
In the second example, it is likely that this photo was taken at night or in a room with no windows and only overhead light. Due to the darker light in the room, the light is refracting off the iris, causing significant glare and making the photo blurry. The solution: Take the photo in indoor daylight with no overhead lighting. Side lighting is usually ok.
иридологическая камера
Что такое камера и цена Бернарда Дженсена иридология?
What is digital eyepiece camera?
A small amount of glare in the pupil (the black dot in the center of the iris) is ok.
NO! Not looking directly at the camera lens creates a distorted image of the iris
In the above 2 examples, the individuals are most likely trying to take the photos themselves so they are inadvertently looking at the camera while trying to take the photo.
The solution: Have someone else hold the camera steady for you or use a tripod with a timer.
NO! In these photos, the top and/or bottom of the iris is covered
When taking your photographs, check to see that the entire color portion of the eye is visible, especially the top and bottom. If you tend to have ‘droopy’ eyes, just gently pull the skin away from the eye using your thumb and forefinger.


иридологические зоны темное пятно почки
Examples of Acceptable Iris Photo Submissions
YES!! Perfect photos – note flash inside pupil and full iris visible
YES!! Although not perfectly clear photos, these 2 examples are still readable
YES!! Very good photos – full iris visible, clear and easy to read for Iridology
YES!! Perfect photos – note flash inside pupil and full iris visible
YES!! Perfect photos – note flash inside pupil and full iris visible
Learn what to expect from your Iridology Analysis at Iridology Explained.
Find answers to any additional questions about Iridology and how it works at Iridology – FAQ’s.
Start Now! Schedule your online appointment at Book Your Iridology Consultation.
Iridology cannot diagnose specific disease.


